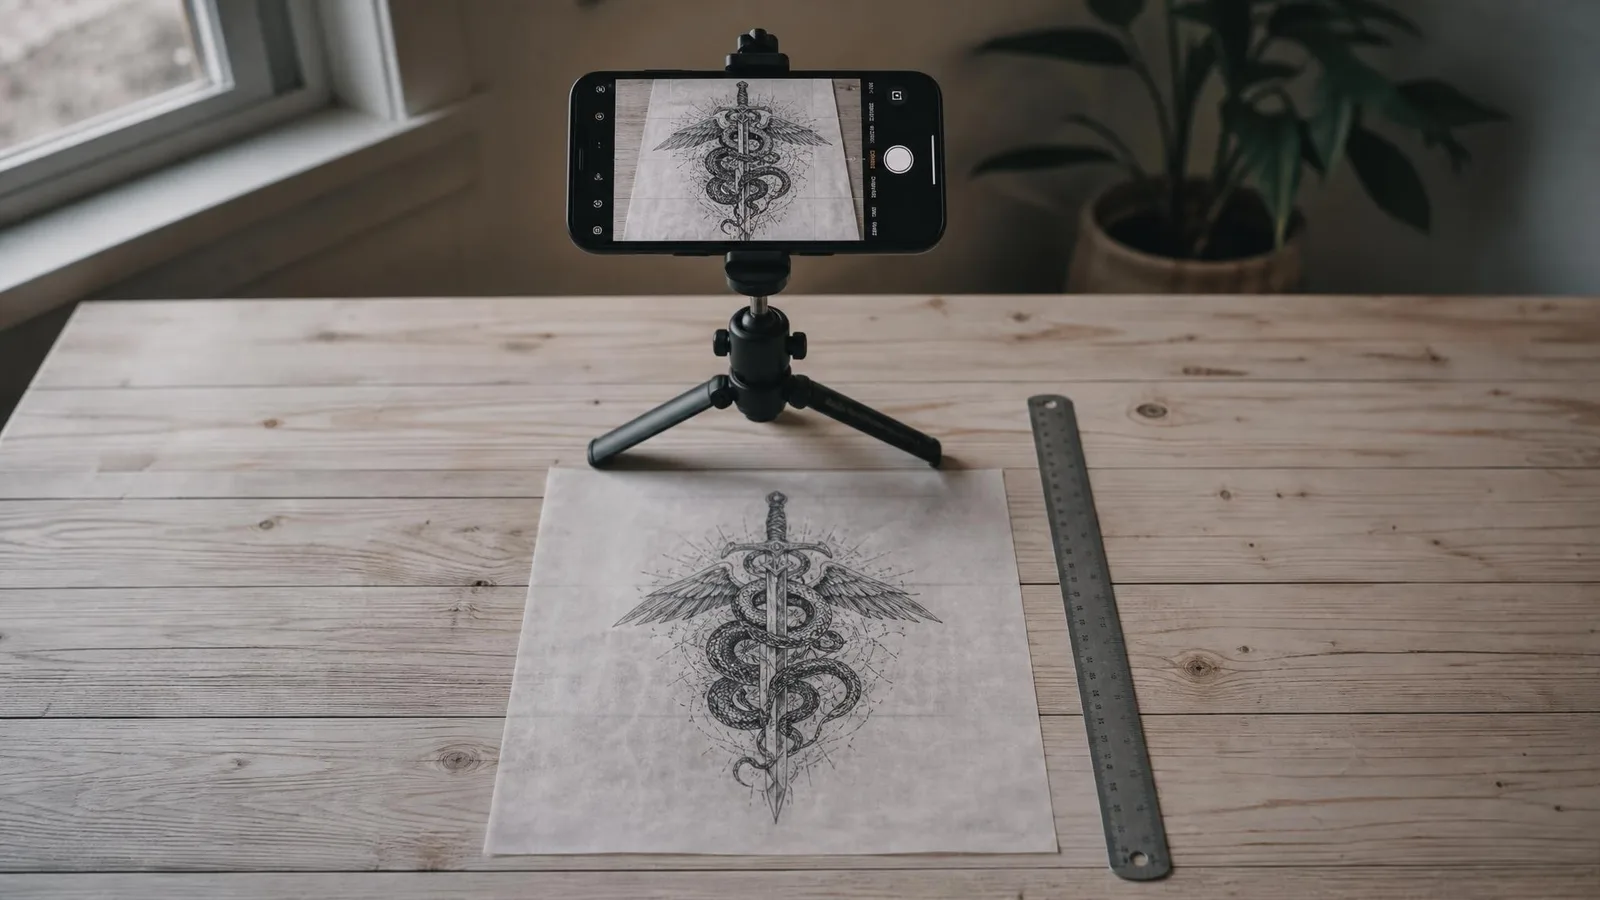
A tattoo preview has a different job from every other kind of generated photo. A product shot needs to look good. A try-on needs to be right - because you are about to make a decision that a laser can only partly undo.
The design itself is the easy half: you already have it, from your artist or your own sketch. The half that decides whether the preview is worth anything is the photo of your own skin. Here is what makes that photo honest.
1. Shoot the spot flat, not the pose
The most common mistake is photographing the arm the way it looks best - slightly turned, elbow bent, shoulder forward. That angle compresses the surface. A design that will actually run twelve centimetres down the forearm gets previewed onto an area that reads as eight, so the tattoo looks smaller and tighter than it will be on the day.
Straighten the limb and shoot it square: camera parallel to the skin, the whole placement area in frame, no foreshortening. If the placement wraps - outer forearm to inner wrist, shoulder to collarbone - take one photo per plane instead of one clever angle that covers both badly.
2. Put something with a known size in the frame
Skin has no scale. Nothing in a photo of a bare forearm tells anyone whether that forearm is 24 cm or 30 cm long, and “medium sized” means nothing without a reference.
Lay a ruler or a tape measure alongside the placement, or wear a watch you own. Any object whose real dimensions you know converts the preview from a mood board into a measurement you can bring to the studio.
3. Even light, no flash
Direct flash flattens skin and kills the shading that a black-and-grey design needs to sit on. Hard sunlight does the opposite: it carves shadows across the placement that the preview will read as part of the anatomy.
Stand near a window on an overcast day, or outside in open shade. What you want is light with no strong direction - the skin evenly lit from edge to edge of the placement area, no hot spots, no shadow line crossing the middle of it.
4. Shoot your actual skin tone
Warm indoor bulbs push skin orange; a phone’s night mode pushes it grey. Both mislead, and colour matters more here than in almost any other kind of photo: how a design reads depends entirely on the contrast between ink and skin, and a preview generated on skin two shades off yours is a preview of someone else’s tattoo.
Daylight fixes this for free. If you must shoot indoors, turn off the warm lamps and use the window.
5. Show what is already there
Existing tattoos, scars, moles, a strong tan line - these are not blemishes to hide, they are constraints. They determine whether a new piece has room, how it has to flow around what exists, and where an artist would need to adapt the design.
Photograph the placement including its neighbours. A preview generated on a clean patch of skin you don’t actually have is the fastest way to fall in love with something that won’t fit.
The three photos that lie about scale
Worth naming, because each one looks fine at a glance:
- The bent-elbow arm shot. Foreshortens the forearm, previews the design 20–30% smaller than it will be.
- The mirror selfie for a back or shoulder piece. Mirrors invert the design and the phone sits at an angle to the body - two distortions stacked.
- The close crop. Framing tight on the placement removes every landmark that gives the eye a sense of proportion. Leave the joint above and below in frame.
Try the same design in three registers
Once the photo is honest, the interesting part is that the same design reads completely differently depending on how it’s rendered. A preview run as designed, in black and grey, and as fine line answers three different questions: does this composition suit my body, does it hold up without colour, and is it too detailed to age well at this size.
That last one is the question artists get asked too late. Fine detail at small scale is what blurs after ten years - seeing the design previewed at its real size, in the register you’re considering, is the cheapest possible way to find out you should go one size up.
None of this replaces a consultation. It makes the consultation shorter: you arrive with a photo of the placement, a design at a known size, and an idea of the style - instead of a screenshot and a hope.