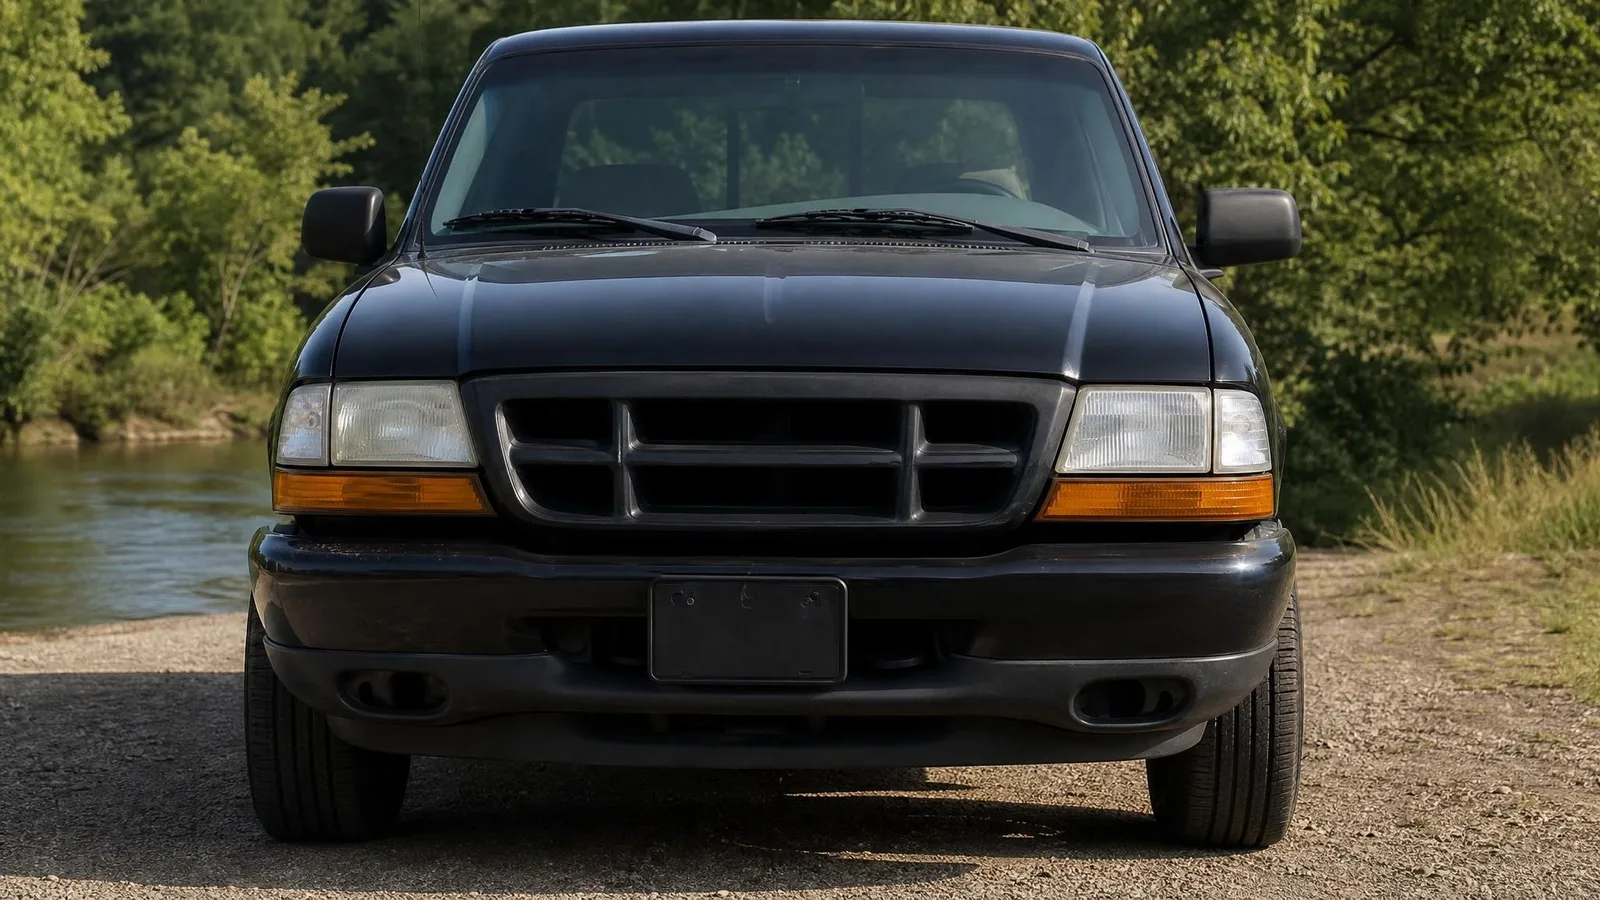
A private-sale car listing lives or dies in the search grid, where your photo is about the size of a postage stamp next to eleven others. Buyers do not read your description first. They scroll, and they stop on the one that looks like someone took care of the car.
The advice everyone gives is “take lots of photos”. That’s not wrong, it’s just useless - twenty bad photos of a car in a dark driveway is still a listing nobody clicks. What matters is which six, in what order, and what you do about the fact that you own a driveway rather than a showroom.
The six, in the order they should appear
1. Front three-quarter. The hero. Stand at roughly 45 degrees off the front corner, crouch slightly below eye level, and get the whole car in frame with a little space around it. This is the shot that goes in the grid, and it is the only one most buyers will ever see. If you take one photo, take this one.
2. Rear three-quarter. The mirror image from the opposite corner. Together with the first shot, these two cover every panel of the car - which is exactly what a buyer is checking for without realising it. A listing with only front views reads as a listing hiding a rear-end repair.
3. Straight side profile. Square on, from the middle. Boring and essential: it’s the shot that shows ride height, wheel gaps, trim level and whether the car sits level. Enthusiast buyers go here second.
4. Interior from the driver’s door. Door open, shooting across the driver’s seat toward the passenger side, dash and centre console in frame. Not a photo of the steering wheel - a photo of the space someone will sit in for two hours a day.
5. The odometer, lit and legible. Ignition on, cluster illuminated, shot straight so nothing reflects. This single photo removes the most common pre-viewing question and signals that you are not going to be difficult about the other ones.
6. The flaws, in close-up. The kerbed alloy. The stone chip. The scuffed bumper corner. Every guide skips this one and every experienced seller swears by it.
Why the sixth is the one that decides the sale
It feels backwards to photograph the damage. It isn’t.
A buyer who drives forty minutes and finds a scratch you didn’t mention has just learned that your listing is unreliable - and now they are re-examining everything else you said. A buyer who saw the scratch on their phone, decided it was fine, and drove out anyway is a buyer who arrives ready to hand over money.
The flaw photos are not a confession. They are the thing that makes the other five believable.
This is also where the marketplaces are unambiguous. eBay bans stock photos for used, damaged or defective items outright and asks for close-up images of any flaw, precisely because it prevents disputes - the full picture policy is in our eBay guide. A photo that quietly smooths a scuff off a used car isn’t a styling choice; it’s the misrepresentation those rules exist to stop, and every platform resolves that argument in the buyer’s favour.
The driveway problem
So here is the actual bind. You have the right six angles. You also have a cracked concrete driveway, a neighbour’s wheelie bin, overhead power lines, and - because you photograph after work - flat grey light at four in the afternoon.
None of that is about the car. All of it is what a buyer sees.
The traditional fixes are to drive somewhere scenic at golden hour, or to pay a dealer photographer. Both work. Both cost an afternoon you were not planning to spend on a car you are trying to get rid of.
The third option is to take the six shots exactly as described, in your driveway, and generate the presentation: same car, same angles, same paint, same wheels, on a clean neutral backdrop with even light. The bins go. The car doesn’t change.
That line matters and it is worth being precise about it. Relighting your car against a plain backdrop is a presentation decision, the same one a dealer makes by parking indoors. Removing a dent is a lie. The first is what generation is for; the second is what gets you a refund request and a negative feedback score.
What to actually do this weekend
Wash the car - genuinely, this is still the highest-return ten minutes in the whole process. Empty the interior completely, including the door pockets you forgot about. Shoot the six angles in flat, even light, which usually means overcast or an hour before sunset, not bright noon. Keep the phone at chest height, not eye height; cars photograph badly from above. Then shoot the flaws honestly, close, and in focus.
If the backgrounds let you down, that’s the part worth fixing - and the only part.
Our free shot list generator prints this set for your specific vehicle type, and the vehicle photo page shows what the same driveway shots look like once the background is doing its job instead of getting in the way.